I have had an absolutely amazing couple of weeks. Weeks that have once again made me realize how amazing my friends are.
I went scuba diving for the first time because of my friend Craig. And then we stopped by a reconstructed grist mill, where I got a bag of flour that was ground for me, which I will be making pancakes with!
I was inspired to push my glass blowing skills further in exciting directions because of my friend Paris. More sculpture, more motivation to watch good glass blowers work their magic, and an invitation to visit her glass studio in Joshua Tree when it's running this winter.
My friend Deb recommended me for a show, the Big 400, and I am in. We attended the funky artist party to pick up wooden blanks for the show, and got to feel the eccentric artistic fun of the younger Portland art scene (Portlandia has nothing on us), enjoyed food and drink, met some new people, and I had a random guy come up and give me extravagant compliments. Deb and I also had artist geek time inspiring me to create some new products that I'm hoping will prove both lucrative and help me get into some additional shows. And I'm planning on going up to Best of the Northwest, in Seattle, with Deb as her support later in October, possibly with an eye toward applying next year myself.
This weekend I attended Bridgetown Swing, the local Portland West Coast Swing dancing convention and competition. I ended up going because my friend / dance instructor / fellow aerial student Trina asked if I would be willing to make some of my glass slugs as prizes for one of the competitions. I agreed to take a weekend pass in partial trade, something that not only enabled me to go, but encouraged me to spend more time there, where I remembered my great love of dancing, plus improved my admittedly rusty swing dancing skills.
Last Friday night my friend Doc and I attended the opening night show and gala for Fiddler on the Roof, put on by Portland Center Stage. It was a great show! And there were all sorts of wine, and beer, and tasty foodz, and sparkly people to hang out with later. And then after that we ended up going out to drinks with some of the crew and cast. The tickets came from my friend Lexi, who I hadn't seen in WAY too long, and now I'm hoping to hang out with her more, and hopefully go blues dancing with her and some other friends soon.
I know AMAZING and generous people. Maybe it's just because I am a nice and interesting person. But some how I have managed to gather the right people around me. And I am SO grateful. Right now I am poor, tired, and still having health problems. But you know what? It doesn't matter. I am surrounded by awesomeness, having fun, and it's the people and the love in my life that make it so. :)

Tuesday, September 24, 2013
Wednesday, September 11, 2013
Back to exercise and back to ME
I have oficially shaken off the feeling that I just can't do stuff. I put on my music and started my own weird version of circuit training again tonight. No more excuses. Do stuff when I feel good enough, and make it happen.
I have some long-term, and shorter term goals.
Do pull-ups.
A big one: Be able to do straddle ups in the air. I have never been able to do this, and it is holding me back from advancing in aerial. It's a little bit mental, but more upper body and core strength, and less weight, will help a lot too. Being able to do pull-ups will also help SO much.
Be able to jugle 5 clubs. And then 5 knives. I need to get off my ass and practice.
Be as comfortable on top of the stacked rola bolas as I am on a single one now.
Balance stuff! On me. Wherever.
Be able to do two rola bolas. I was practicing a bunch for a while and fizzled.
Do more "machine/factory" type juggling tricks, with both hands. And back crosses.
Loose about 20 lbs in fat and gain about 10 in muscle. Or something like that.
I didn't keep very close track of reps of things, or exact time, I just pushed hard and did as much as I can. I did silks climbs, jumprope, and hula hoop for cardio. Oh, and meteor with a monkey fist meteor, which also counts as an awesome upper body wor-out in it's own right.
Additional silks work: Straddle up, and held, several more fairly sad straddle up and inversion attempts, various foot locks and a wrap, used the silks for an anchor while doing meat hooks.
I didn't do much trapeze, I'm trying to make sure I can still blow glass tomorrow. But I did catcher's hang crunches, which are always awesome.
I practed balancing on the rola bola. Just one is easy as pie for me, after not being on it for maybe a year (!!), so I stacked some yoga blocks and another board on there and got practicing.
Other aerial type exercises: the weird straddle/plow/crunch ab exercise, crunches, hanging as long as possible with bent elbows (since I can't actually do a pull-up).
Juggling: 5 balls with heavier and larger balls, mill's mess.
Pell work - 100 blows (maybe more actually). I forcussed on using my body, using my core to push through and be powerful, and leaving my arm almost staionary and using my body a lot, because I am really bad at using my body well for fighting right now. And stepping while throwing to help with power. And punchig short-sticking, just 'cause.
Things I didn't get to and wanted to do: hand stand practice, and diabolo. I can't find the hand sticks for my diabolo! And I just forgot the hand stands.
I feel like I got a pretty good work-out, I was craving protien a little while after I was done. I'm going to have to get set up to make smoothies again. Instead I fried up some tofu and had it with rice. It was the Best Tofu Ever. Seriously. Oh, and there was baby corn too.
I'm not doing a strict diet, but I am trying to be rational about what I eat.
And now... reading a lot about various aerial work outs!
Oh and one last thing. My knee hurts. And my right hand/wrist. Both have been sore on and off for a bit, no idea why. So I pushed things, but not so much that I would aggrivate those areas too much, hopefully.
Monday, September 9, 2013
Wow, last week was a heck of a week in adventure girl land! I really can't believe how much was crammed into it. I purchased an awesome antique chair, went bouldering with friends at the Circuit bouldering gym, went for a ride in a side car, went to a new-to-me tea house, saw the mummy exhibit at OMSI, got to hold a real child's skull, was introduced to some cool new places around town, helped work on constructing my friends' viking pit house, went scuba diving for the first time ever (something I have ALWAYS wanted to do), visited a reconstructed water-powered grist mill and got a little bag of flour from them, started taking the tile off of my bathroom floor, purchased a bunch of small tiles at the Rebuilding Center, and Re Store, and have been spending every spare moment trying to make my house so it isn't a disaster. Which all goes to show that you don't have to travel to adventure! :D
Sunday, August 11, 2013
Wisconsin: Art, Crafts, Shooting, & Beer!
My time in Wisconsin has continued to be entertaining, and
also fairly uneventful, a relief after some of the “interesting” times I’ve
been through lately. I’ve been taking this week as a good chance to re-group
after Pennsic, rest, work on some projects, and I’ve also been doing some “real
work” and am learning some new digital art skills.
As many of you know, I show some of my artwork at science
fiction and fantasy conventions. They are a fun place to display (but usually
not sell) some of the more interesting and obscure things I create. I also have
started doing prints of some of my 2D work, and that’s actually where I
actually make a little bit of my money back, selling cards and the occasional
larger print. Recently I’ve been inspired to start some new projects, and one
of my goals is to become proficient at creating digital paintings and art. I’ve
just started in on the learning, and while in Wisconsin I’ve been
borrowing my friend Ursula’s Wacom Bamboo tablet to use along with my copy of
photoshop. My first totally digital piece is still in progress, but here is a
sample of what is on its way:

Of course this means I need to get my own tablet before too
long, and preferably a Wacom Intuos. And at some point I may pony up for a new
copy of photoshop. And a new computer that can handle all of the digital editing.
Weeee. But for now… learning!
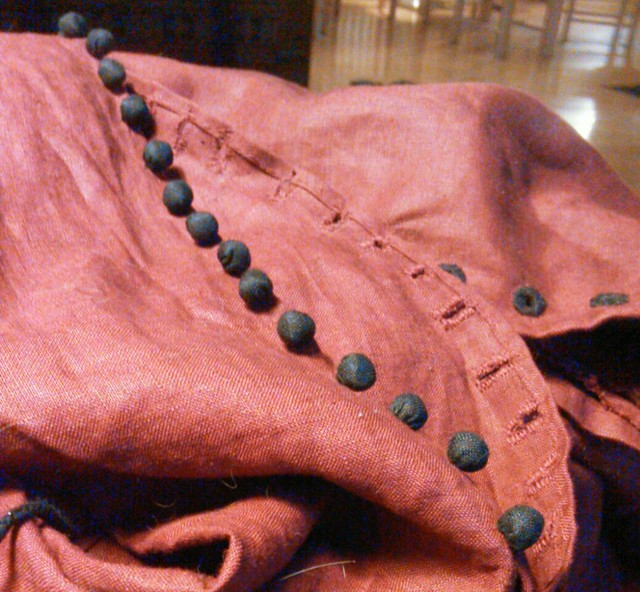
The other projects I’ve been working on include a fourteenth
century fitted dress that I’ve had partially done for a while now. I’m
currently trying to complete the arduous task of making and sewing on a
gazillion buttons and the button holes to go with them. I have all of the
buttons on one sleeve done, and am almost done with the button holes on that
side.
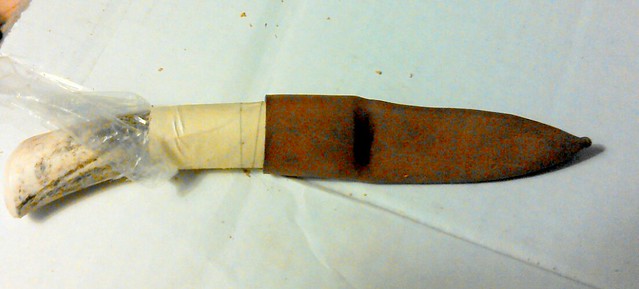
One of my hosts, Brian, helped me with another project,
making a sheath for the cute little carving knife I got at Pennsic. This is my
first time making a knife sheath, and it’s still drying in shape (hence the
wrap around the knife in the picture), but I’m really looking forward to when
it’s done and I can play with it!

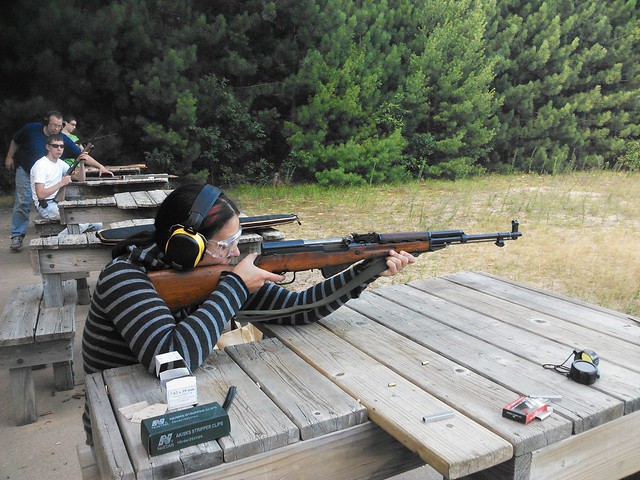
And there was shooting! Brian also took me to his local
shooting range where I fired a gun for the first time since I was a teen. It
was great! Now I just need some more excuses to go shooting back home.
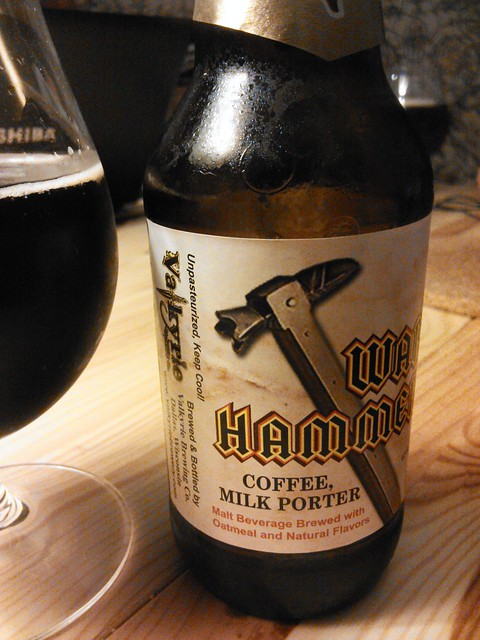
Let’s not forget the other element of relaxation: beer.
After making good art, and blowing stuff up, some nice micro-brews are definitely
a good way to top off the night. The beer pictured below was quite tasty along with the brownies we
made last night. Plus, it is made by Valkyrie brewery, and since Valkyrie is the name of my apprentice, I just couldn't pass it up.
EDITED TO ADD:
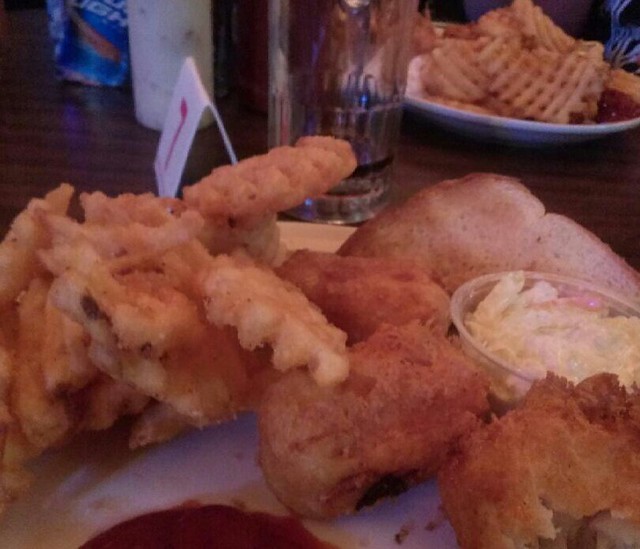
I totally forgot! I also had my first fish fry! This tradition is apparently a staple of the upper mid-west. Everyone goes out on Friday and partakes of fried fish! Since Ursula and Brian had yet to experience this, we did a google search for the best fish fry in Eau Claire, and settled on an option. A deceivingly seedy looking establishment of drink which was already known to serve great burgers, so we had hopes for their fish. Apparently other people share the opinion that this place (the Court-N-House) serves edible food, because when we got there it was standing room only. We got a seat maybe 20 min after we got there (though a waitress took our order right away), and then our fish came. It was pretty frikkin' good! Nice thick chunks, tender and moist inside, crispy on the outside, served with fairly tasty coleslaw and nice crispy waffle fries. We are counting it a win!
And tonight at dinner we had some more brews from the multi-pack we got from Valkyrie Brewery:

The entertainingly named "Dragon Blade," behind a locally made brat, with Brian photo-bombing in the background. :)
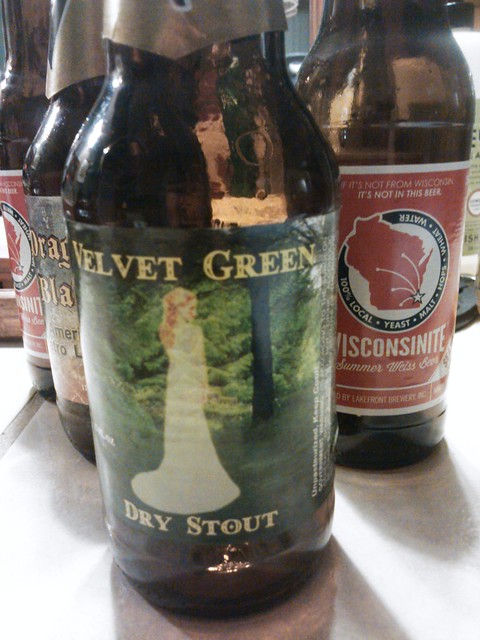
Additional local brews we've been experiencing.
Friday, August 9, 2013
A Week in Wisconsin
Guess where I am? Ok, I gave it away with the title, but I'm fairly sure that most of you wouldn't think of Wisconsin as a likely spot for Adventure Girl Vandy to visit. So why am I in Wisconsin? A very good reason actually; after Pennsic I drove back to Wisconsin with two of my oldest and best friends, Ursula and Brian, to visit them, at their home. Last year Ursula and Brian purchased a 100+ year old farmhouse, and we've been looking for a good time for me to go out and visit.
My biggest surprise about Wisconsin so far: It's not nearly as boring/bad/nondescript as I imagined the mid-west would be. Of course I've been informed that this is the Upper Mid-West, and thus it is superior to the rest of the mid-west.
So far there are some things I actually really like about Wisconsin. The abundance of great produce and farmer's markets is pretty awesome. I also love that the farmer's market in the town I'm in (Eau Claire), has a permanent market pavilion roof, so the farmers can just pull up and unload rather than have to set up booths. I wish we had more of that sort of thing in Oregon. Also, being able to buy things like inexpensive lamb is a total win!
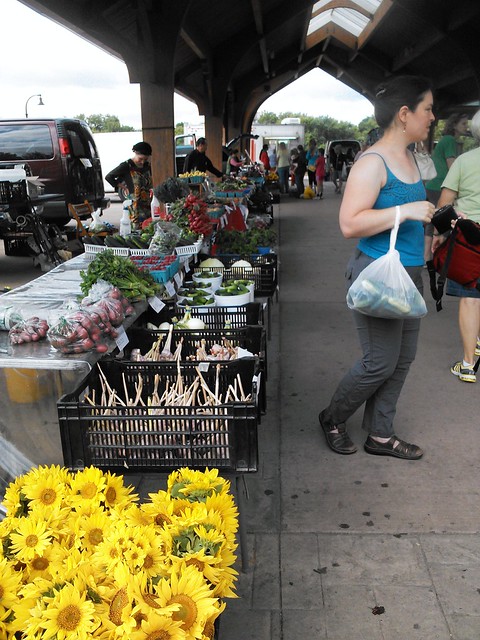
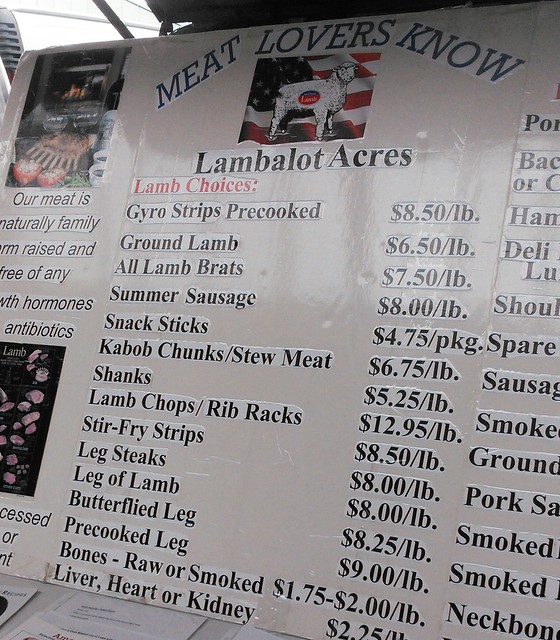


Our spoils from the farmer's market!
Compared to spending a lot of time in California and Arizona, where I've been all to much recently, visiting an area that is green, with low rolling hills, trees, and attractive water-ways, is a huge relief to my eyes. I've always been skeptical of living somewhere not near a coast, or far away from the closest mountain range, but I'm guessing that the proximity of the great lakes would at least lessen the feeling of being trapped that I always assumed I'd have if stuck in the center of the country. My eyes do miss terrain, but I'm going to try to make up for that by hopefully soon by visiting some underground terrain, namely the Crystal Caverns, which are less than an hour from my temporary home.
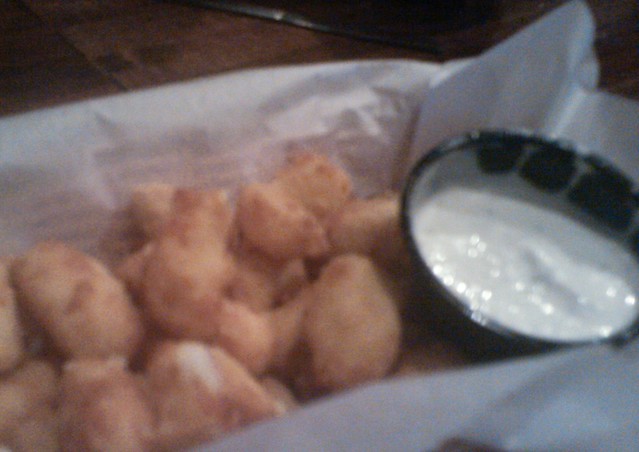
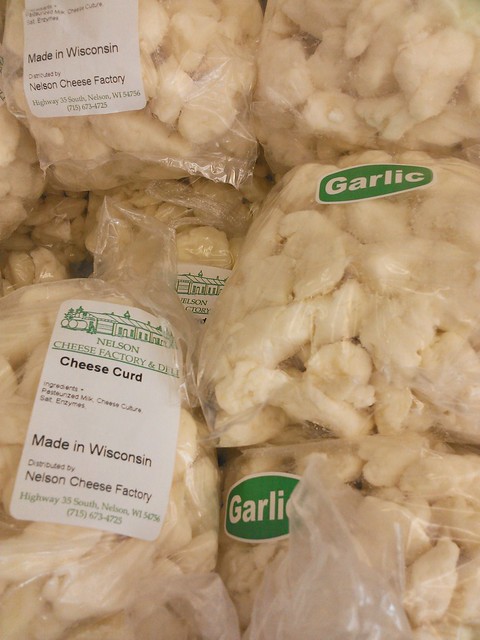
Another nice thing about this area is the large amount of scandinavian influence. Every town has a scandinavian import shop, and I've been informed that we can get some really good pickled trout, which I am eagerly awaiting tasting. Of course the high population of scandawhovians also means that there is a decidedly different look to a lot of the population. There are a lot of blond, blue-eyed, football player types around here, so I'm sure I stick out quite a bit, but so far people have been quite nice, also a regional trait apparently (though I usually think of courtesy and hospitality as more of a small-town survival skill). I've already tried another regional delicacy, fried cheese curds, sampled some local brews, and am awaiting trying the traditional friday night fish-fry.
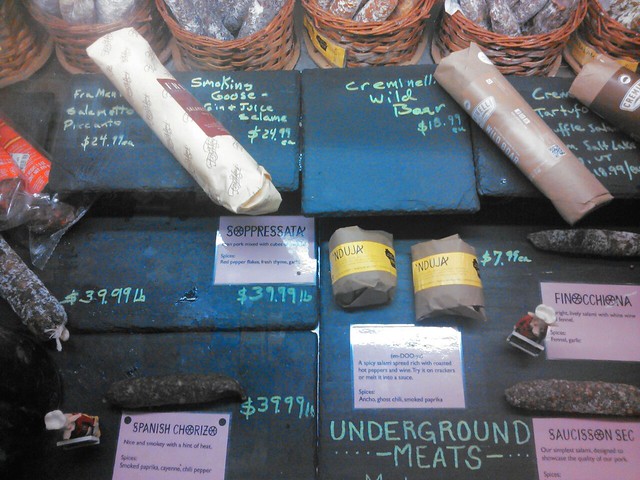
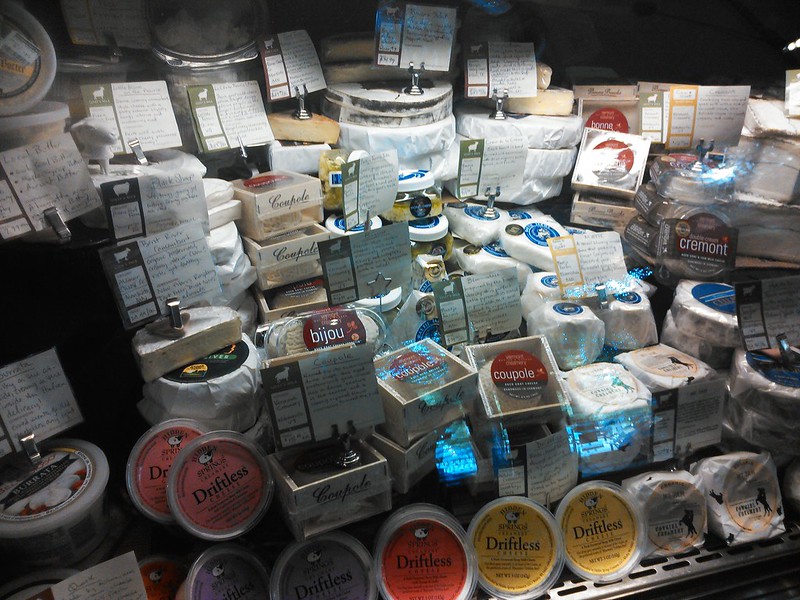
And speaking of cheese curds, I have already been to *TWO* cheese stores! Yay cheese! While driving back from Pennsic we stopped at an amazing cheese store in Madison, called Formagination, for sandwiches. They had about a gazillion kinds of cheese and sausage, and even chocolate!
And speaking of cheese curds, I have already been to *TWO* cheese stores! Yay cheese! While driving back from Pennsic we stopped at an amazing cheese store in Madison, called Formagination, for sandwiches. They had about a gazillion kinds of cheese and sausage, and even chocolate!
Yum Cheese!!!
Goose, boar, and more!
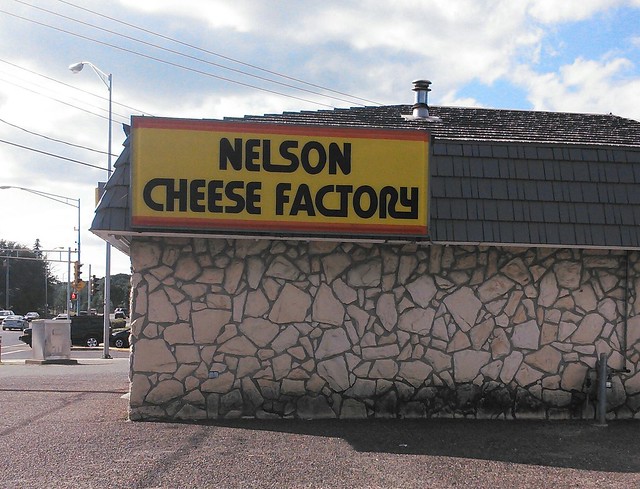
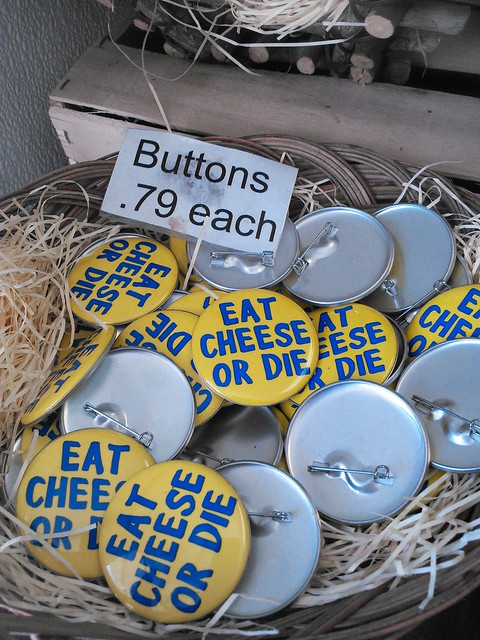
We also visited the little, but packed full, Nelson Cheese Factory Store, in Eau Claire. There we saw a variety of yummy and entertaining things.
Aside from attending the farmer's market, I've gone rock climbing at the local college rock wall, walked around town a bunch, went to an awesome three-story antique shop where I could have spent a week looking through piles of art books and old auction catalogues (I only bought two!!!), have been to a couple of local pubs for libations, and last night I attended a hwa rang do (a Korean martial art) class.

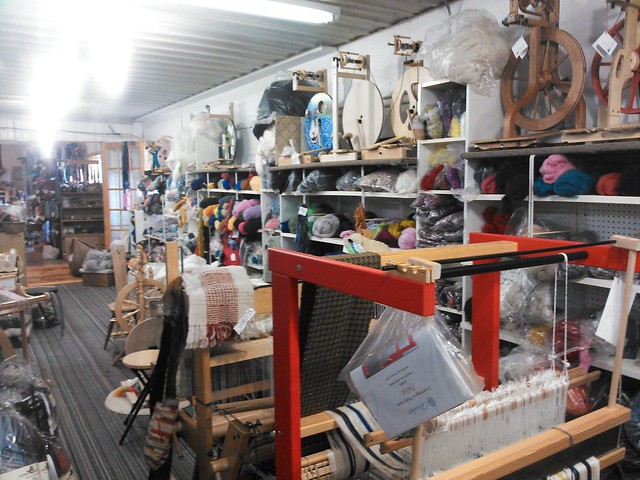
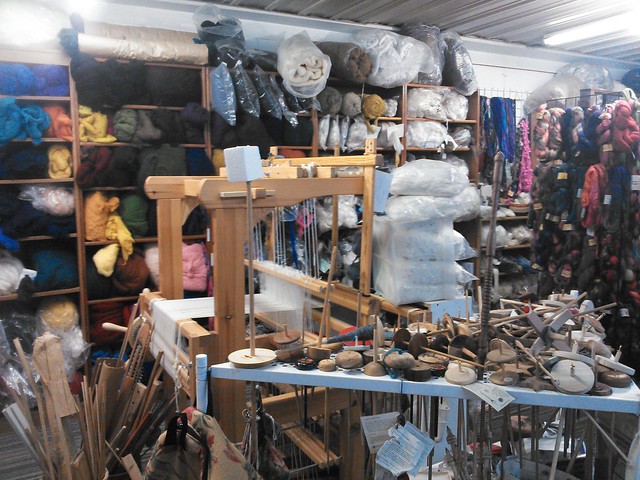
Oh, and also on our way back from Pennsic we stopped at this knitting/spinning/weaving store in the middle of nowhere (sort of near Madison), and it was AMAZING! Rooms full of every kind of fiber and yarn imaginable.
Aside from attending the farmer's market, I've gone rock climbing at the local college rock wall, walked around town a bunch, went to an awesome three-story antique shop where I could have spent a week looking through piles of art books and old auction catalogues (I only bought two!!!), have been to a couple of local pubs for libations, and last night I attended a hwa rang do (a Korean martial art) class.
Oh, and also on our way back from Pennsic we stopped at this knitting/spinning/weaving store in the middle of nowhere (sort of near Madison), and it was AMAZING! Rooms full of every kind of fiber and yarn imaginable.
Drewwwwwllllll. Yeah, so much fiber goodness. I managed to restrain myself to gettin 3 oz of cashmere... somehow.
I'll be in Wisconsin until Monday evening, and we have several possible plans about things to do, including going to Crystal Caverns, going shooting, making some more of my coins, and possibly a trip to which ever of the great lakes are closest. And I have decided that I need to come back in the winter and go ice skating and ice fishing!
Thursday, August 8, 2013
Pennsic War!
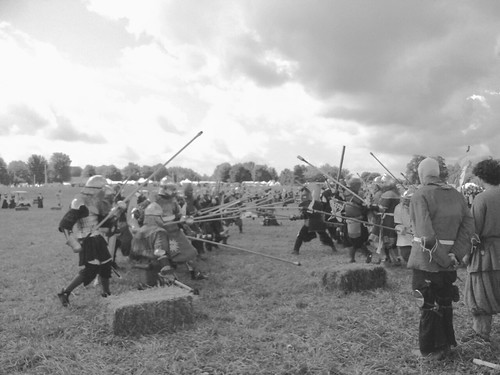
Hey everyone, I just got back from Pennsic War, the largest Society for Creative Anachronism event in the world. Pennsic consists of two weeks of camping, in what is usually a pretty hot and muggy environment, but also can be a very rainy at times. This was a good year. While the attendance of the event was down a little, most likely due to it being a week earlier than usually scheduled, it was still a lot of fun! While there were some rain storms, the weather stayed a bit cooler than normal, which was especially nice for fighting. I fought for a couple of the days, practiced my juggling, worked on crafts, ate lots of awesome food, saw old friends, and made new friends. Hard to go wrong with that! Here are a few images from the war:


In the Feed the Ravens booth, where I was working and selling some of my glass.
Practicing club passing with my friend Ethan, in front of our camp, "Camel Lot."
Juggling clubs at the front of the Lac Pride Parade, an annual and very silly event that the lake-dwellers do around the lake at Pennsic.
A picture I took of fighting at Pennsic (on a day I didn't fight)
Tuesday, April 2, 2013
Mammoth Ivory Ear Spoons and Sewing Needles
Well, I’m back from my latest trip – to Arizona. I’m down
one boyfriend, but up one hobby. With the chaos of my breakup I’ve once again
been bad about posting, but here are some images of what I’ve been spending my
nervous energy on:

A couple of years ago I purchased a small bag of scrap
mammoth ivory cut-offs at Pennsic, a large medieval event. I found the bag of
ivory just before I left for Arizona, and I needed to switch things up when I
got home, so I picked up some pieces and just started whittling. These are
medieval style ear spoons and sewing/embroidery needles. The ear spoons are
inspired by the ones shown in this image (from a book of Viking era finds that
I have that’s in Russian, so I’m not sure of the details – I need to work on my
Cyrillic).

I formed the ivory items using a few simple tools: my pocket
knife, a set of small files from Harbor Freight, and an exacto knife (mostly
for around the hole because it has a smaller blade than my pocket knife). I’ve
already sold the smaller ear spoon, and plan on putting the larger one up for
sale on my etsy site. They were fairly fun, if somewhat time consuming, so I’ll
probably make a few more.
Subscribe to:
Posts (Atom)